
Discover the art of making juicy, flavorful Air Fryer Chicken Breast with my easy guide. Learn the essentials, including ingredient substitutions, and follow simple steps for perfect results every time.
Get tips for serving, storing, and reheating to transform your chicken game. Say goodbye to dry, bland poultry with this foolproof method.
You May Like: Juicy Oven Baked Chicken Breast
Air Fryer Chicken Breast
Cooking chicken breast in an air fryer has totally changed the game for me, especially on those nights when I’m rushing to put a healthy meal on the table. I’ve discovered that the air fryer doesn’t just cut down on cooking time; it actually makes the chicken taste better and stay juicier. It’s been a real game-changer.
The first thing I always do is preheat my air fryer. That step is crucial if you want to get that perfect golden-brown crust on your chicken. I’ve also learned the hard way that cramming the basket too full is a no-go. You’ve got to give each piece its own space so the hot air can work its magic, cooking the chicken thoroughly while keeping it nice and moist on the inside. And the best part? It uses way less oil than traditional frying but still keeps all the tasty flavors. It’s a win-win.
Getting the hang of the air fryer has really opened up a world of possibilities for me. I’ve been playing around with different seasonings and tweaking the cooking times to get my chicken breast recipe just right. Keeping an eye on the internal temperature has been key to nailing that juicy, succulent finish. Every time I get it just perfect, it feels like a little victory in the kitchen.
Ingredients You’ll Need (+ Possible Substitutes)
Whipping up this mouth-watering air fryer chicken breast is a breeze, especially when you have the right ingredients on hand. Plus, I’ve got some clever substitutes to keep things interesting.
Let’s start with the star of the show: chicken breasts. I always opt for boneless and skinless because they cook faster and are easier to handle. But hey, if you’ve run out or just want to shake things up, turkey breasts or even a chunky slice of firm tofu can make a fantastic alternative, giving the dish a fun little spin.
When it comes to getting that deliciously golden exterior, I swear by olive oil for brushing over the chicken. But if your kitchen’s out of olive oil, don’t sweat it. Avocado or coconut oil can step in and do the job, each adding their own special touch to the flavor of your dish.
The seasoning is where you can really let your creativity shine. My go-to blend is salt, pepper, garlic powder, and paprika for that unbeatable classic flavor. But the sky’s the limit here – swap in your own favorite spices or even grab a pre-mixed spice blend to save on time. And if you’re all about that spice life, don’t hesitate to throw in some chili powder or cayenne pepper into the mix.
To finish off, a quick squeeze of fresh lemon juice right before serving brings everything together with a pop of zest. No lemons in the house? Lime or a splash of vinegar can work wonders too. It’s all about improvising with what you’ve got, and these handy swaps guarantee your air fryer chicken breast will be a hit every time.
How To Make It
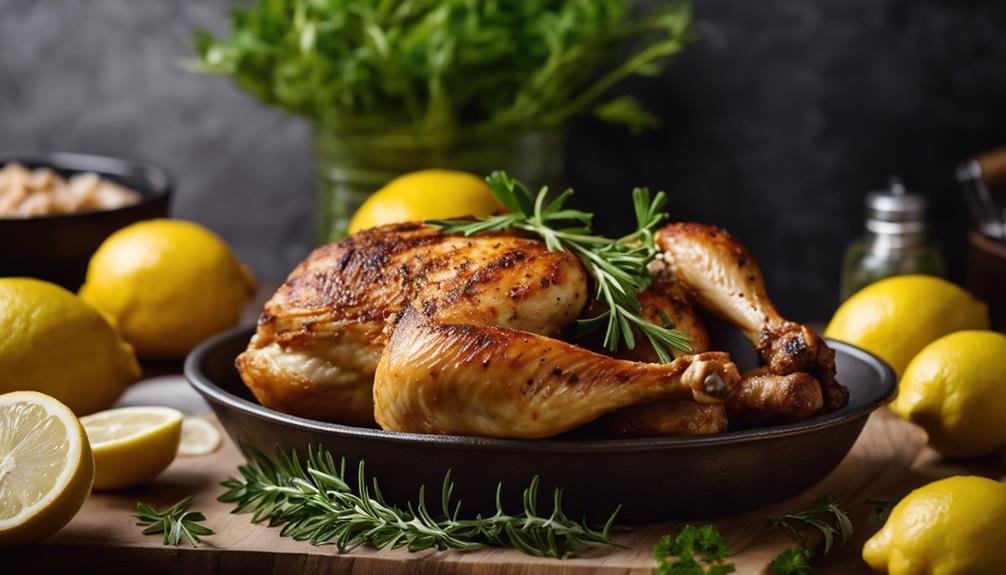
First off, let’s get everything we need on the counter and fire up the air fryer to 375°F to get it nice and hot for our juicy chicken breasts.
Once we’re all set, I grab the chicken breasts and give them a good pat down with paper towels. Getting rid of that extra moisture is key for making sure our spices cling on for dear life. Then, I whip together my go-to spice blend in a small dish. We’re talking garlic powder, smoked paprika, a touch of salt, and a good crack of black pepper. Simple? Yes. Delicious? Absolutely.
I slather that spice blend all over the chicken breasts, making sure they’re thoroughly coated. This isn’t just for kicks; it’s what’s going to give our chicken that mouth-watering golden hue as they cook.
Next up, I carefully arrange the chicken breasts in the air fryer basket, taking care to give them some breathing room. It’s all about that hot air flow for cooking them evenly. I hit the timer for 10 minutes, then flip those bad boys over and let them go for another 7-10 minutes. We’re aiming for that perfect 165°F inside.
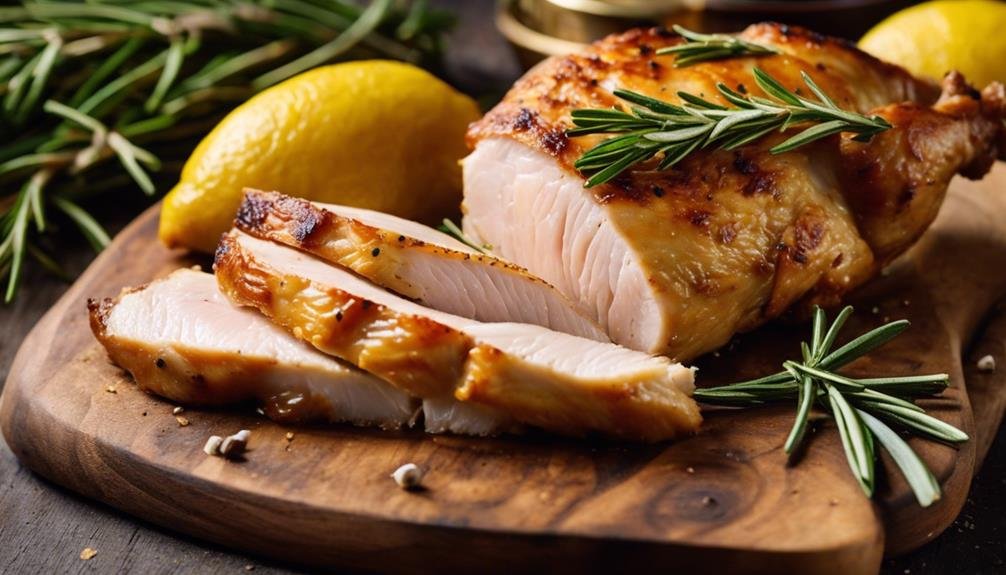
Once they’re cooked to perfection, I let the chicken sit for a bit before cutting into it. This little break lets all those tasty juices redistribute, making sure every bite is as succulent as can be.
Tips For Success
Now that we’ve gone through the essentials of whipping up a tasty air fryer chicken breast, let’s dive into some nifty tricks to guarantee your chicken is spot-on each time. I’ve noticed it’s often the little tweaks that elevate the final dish. Here’s what years of kitchen experiments have taught me:
- Warm Up Your Air Fryer: Before anything else, I always make sure to preheat my air fryer. It kickstarts the cooking right away, ensuring the chicken breast cooks through evenly.
- Space Them Out: I’m careful to arrange the chicken breasts so they’re not touching, each in its own space. It’s all about letting that hot air roam freely for that evenly cooked, crispy finish we all love.
- Trust a Meat Thermometer: Seriously, a meat thermometer is your best friend in the kitchen. Chicken hits the sweet spot at an internal temp of 165°F (74°C). This little gadget keeps me from serving up anything that’s not just right, be it undercooked or too dry.
- Give It a Minute: One thing I’ve learned is the magic of patience — letting the chicken breast sit for a few after it’s done cooking. It’s all about giving those juices a chance to settle back in, making every bite as juicy and flavorful as can be.
Serving Suggestions
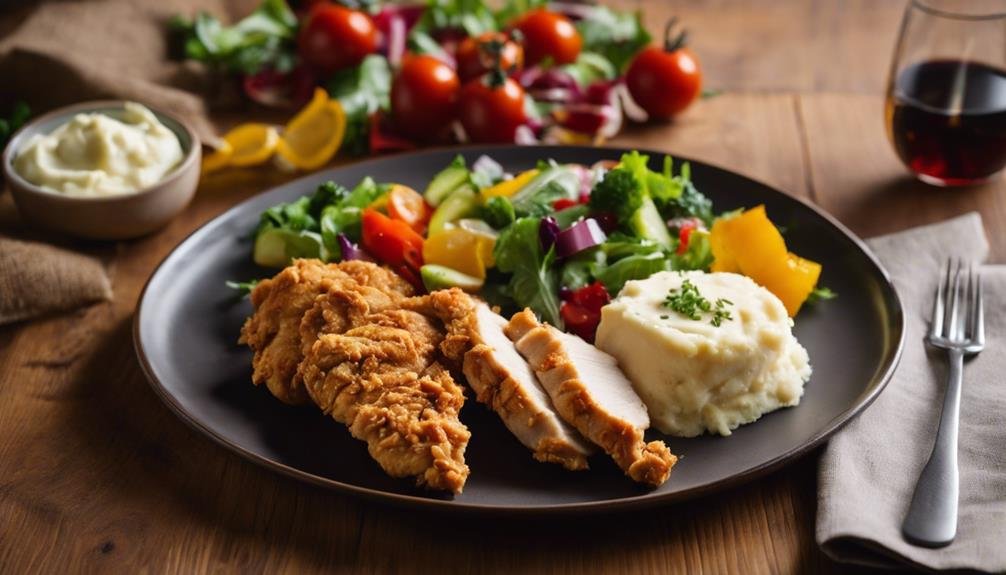
Once you’ve got the hang of whipping up air fryer chicken breast, it’s exciting to discover all the different ways to serve it that really make its flavors and textures shine.
I absolutely adore slicing it up thinly and draping it over a crisp Caesar salad; the combination of the warm, juicy chicken and the cool, crunchy lettuce is just unbeatable.
When I’m craving something a bit more filling, I love to pair the chicken breast with a side of roasted veggies. The air fryer lends the chicken a delightful slight crispness that goes so well with the tender, flavorful vegetables.
For a laid-back meal, chopping the chicken and tucking it into tacos is my go-to. Just a bit of cheese, some chopped tomatoes, and a scoop of guacamole, and voilà — you’ve got yourself a dish that’s both fulfilling and a breeze to whip up.
On days when I’m feeling particularly relaxed, I’ll just slice up the chicken and create a simple sandwich with fresh bread, a smear of mayo, and some lettuce. It might sound basic, but the perfection of the chicken elevates it to something extraordinary.
No matter the occasion, air fryer chicken breast proves to be incredibly adaptable, seamlessly fitting into a wide array of meals.
Storing, Freezing & Reheating
After indulging in your scrumptious air fryer chicken breast, it’s crucial to know the ins and outs of properly storing, freezing, and reheating your leftovers. Keeping your chicken just as moist and flavorful as when it first came out of the air fryer is easy if you stick to these steps:
- Cool Down: First things first, let your chicken breast chill out to room temperature before you think about storing it. This step is key to stopping any bacteria from making a home in your food and helps keep that perfect texture.
- Refrigerate: If you’re planning on diving into your leftovers within the next three to four days, wrap them up snugly in cling film or pop them into an airtight container and into the fridge they go. This little move works wonders in keeping the moisture and tastiness locked in.
- Freeze: Got plans for your chicken breast down the road? Wrap it up tight in freezer paper, aluminum foil, or slide it into a freezer bag, pressing out all the air you can. Done right, your chicken can chill in the freezer for up to four months. Slap a label on it with the date so you won’t have to guess when it’s still good to enjoy.
- Reheat: When the time comes to bring that chicken back to life, thaw it in the fridge first if it’s been frozen. For the reheating magic, throw it back in the air fryer at 360°F for about 4 minutes or until it’s heated through and still keeping that juicy goodness. Try to steer clear of the microwave unless you’re aiming for dry chicken.
Just follow these straightforward tips, and your air fryer chicken breast will be just as delicious the second time around!

Hi, I'm Benjamin. I love cooking, long walks, and my girlfriend! Here you’ll find simple and delicious recipes that you can make in 30 minutes or less.